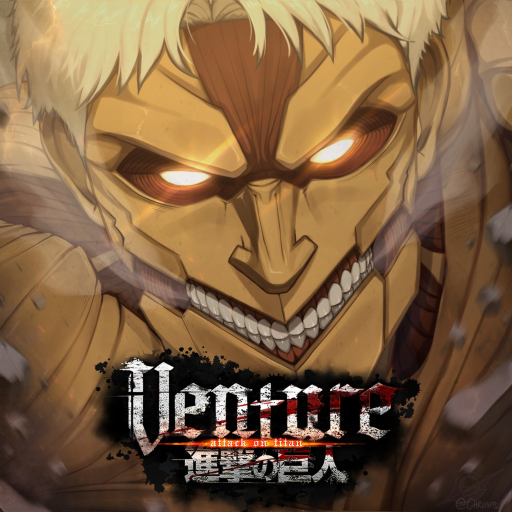
Venture AOT Armored Titan: Punches, Charge, and Grab Escape
Use Armoured’s close-range punches deliberately, then choose Breach Run when you need to close distance instead of trading from a poor position.
The Armored Titan in Venture AOT uses close-range punches, a kick, a forward charge, and a roar that breaks an AI Titan grab. Give each action a job: close distance, make the melee exchange, escape a hold, and preserve a useful position before the transformation ends.
Keep punches inside a deliberate melee exchange
Punch combos provide light and heavy melee strikes. Use them when the target is within a useful close-range position rather than beginning the exchange while you are still trying to reach it. Your approach should put the form somewhere you can act without spending the whole moment correcting the distance.
Choose one nearby target or a clear part of the encounter to work on first. That makes it easier to follow what the punches are accomplishing and when you should move again. A forceful-looking attack is most useful when it belongs to a controlled exchange, with your next position already considered.
Use Breach Run to close the distance
Breach Run launches Armoured forward in a shoulder charge. It knocks back enemies and damages structures, so it serves both movement and attack purposes. Pick the direction before using it: a charge should take you toward a useful engagement rather than carry you into another awkward position.
A practical use is to connect a distant target with the next close-range exchange. Leave enough space beyond that target to keep control of the situation after the charge. Do not turn every reposition into another attack. Sometimes choosing a clearer line before committing gives the punches that follow a more useful starting point.
| Action | Main job | Useful intention |
|---|---|---|
| Punch combos | Close-range melee strikes | Work from a settled attack position. |
| High kick | A kick attack | Choose another deliberate melee action. |
| Breach Run | Forward charge and knockback | Close distance along a clear line. |
| Roar / repulsion | Break an AI Titan grab | Regain space and decide the next movement. |
Treat the high kick as an attack choice
The high kick is assigned to X in the described keyboard layout. It gives you another close-range attack alongside the punch combos. Keep it tied to a target and a moment in the exchange rather than pressing it simply because the action is available.
Think about what you are trying to accomplish with the next attack: maintain the exchange, change your position, or regain control after movement. The kick belongs to the attacking part of that sequence. Breach Run serves a different purpose when distance needs to change. Keeping those jobs separate makes the form easier to operate than cycling every action without a plan.
Use the roar when an AI Titan grabs you
The roar or repulsion blast releases a steam shockwave that breaks an AI Titan hold. That is a specific recovery use: when the form is grabbed, the action can free you and clear space to organize the next movement. Treat the opening as a chance to regain control of the encounter.
After escaping the hold, choose whether to rebuild the melee position or move away. Do not let the release immediately become another uncontrolled exchange. A useful recovery has a follow-up destination, especially when other enemies are nearby. The roar addresses the grab; your next positioning decision determines how you use the resulting space.
Plan the return to Scout movement
Armoured access costs 499 Robux and each transformation uses one Shifter Serum. The shift runs on a timer, then returns you to human form. Another use needs another serum, so plan a position from which you can continue with ODM movement when the Titan phase finishes.
For activation problems, use Armored Not Working. For access and recurring fuel, use Titan Shifting. Keep this form’s operating plan focused: reach a useful melee position, choose the attack that fits it, recover from a grab when necessary, and leave the next Scout movement available.